We started the main chassis construction by first disassembling the previous robot from last year. Using the materials from the previous robot, we started on the drive train and the left side of the base. We attached the servos using nuts and bolts, and then placed the drive train along with some gears for the motors. Afterwards, our main chassis team built the right side the same way as the left side, and attached both sides together. However, our team had an issue because of a missing tensioning bushing. After solving the problem, we successfully attached both base parts together.
Left Base Original
The original left base.
Left Base servos
The servos on the left base.
First Prototype Gears
The types of gears used for the first prototype.
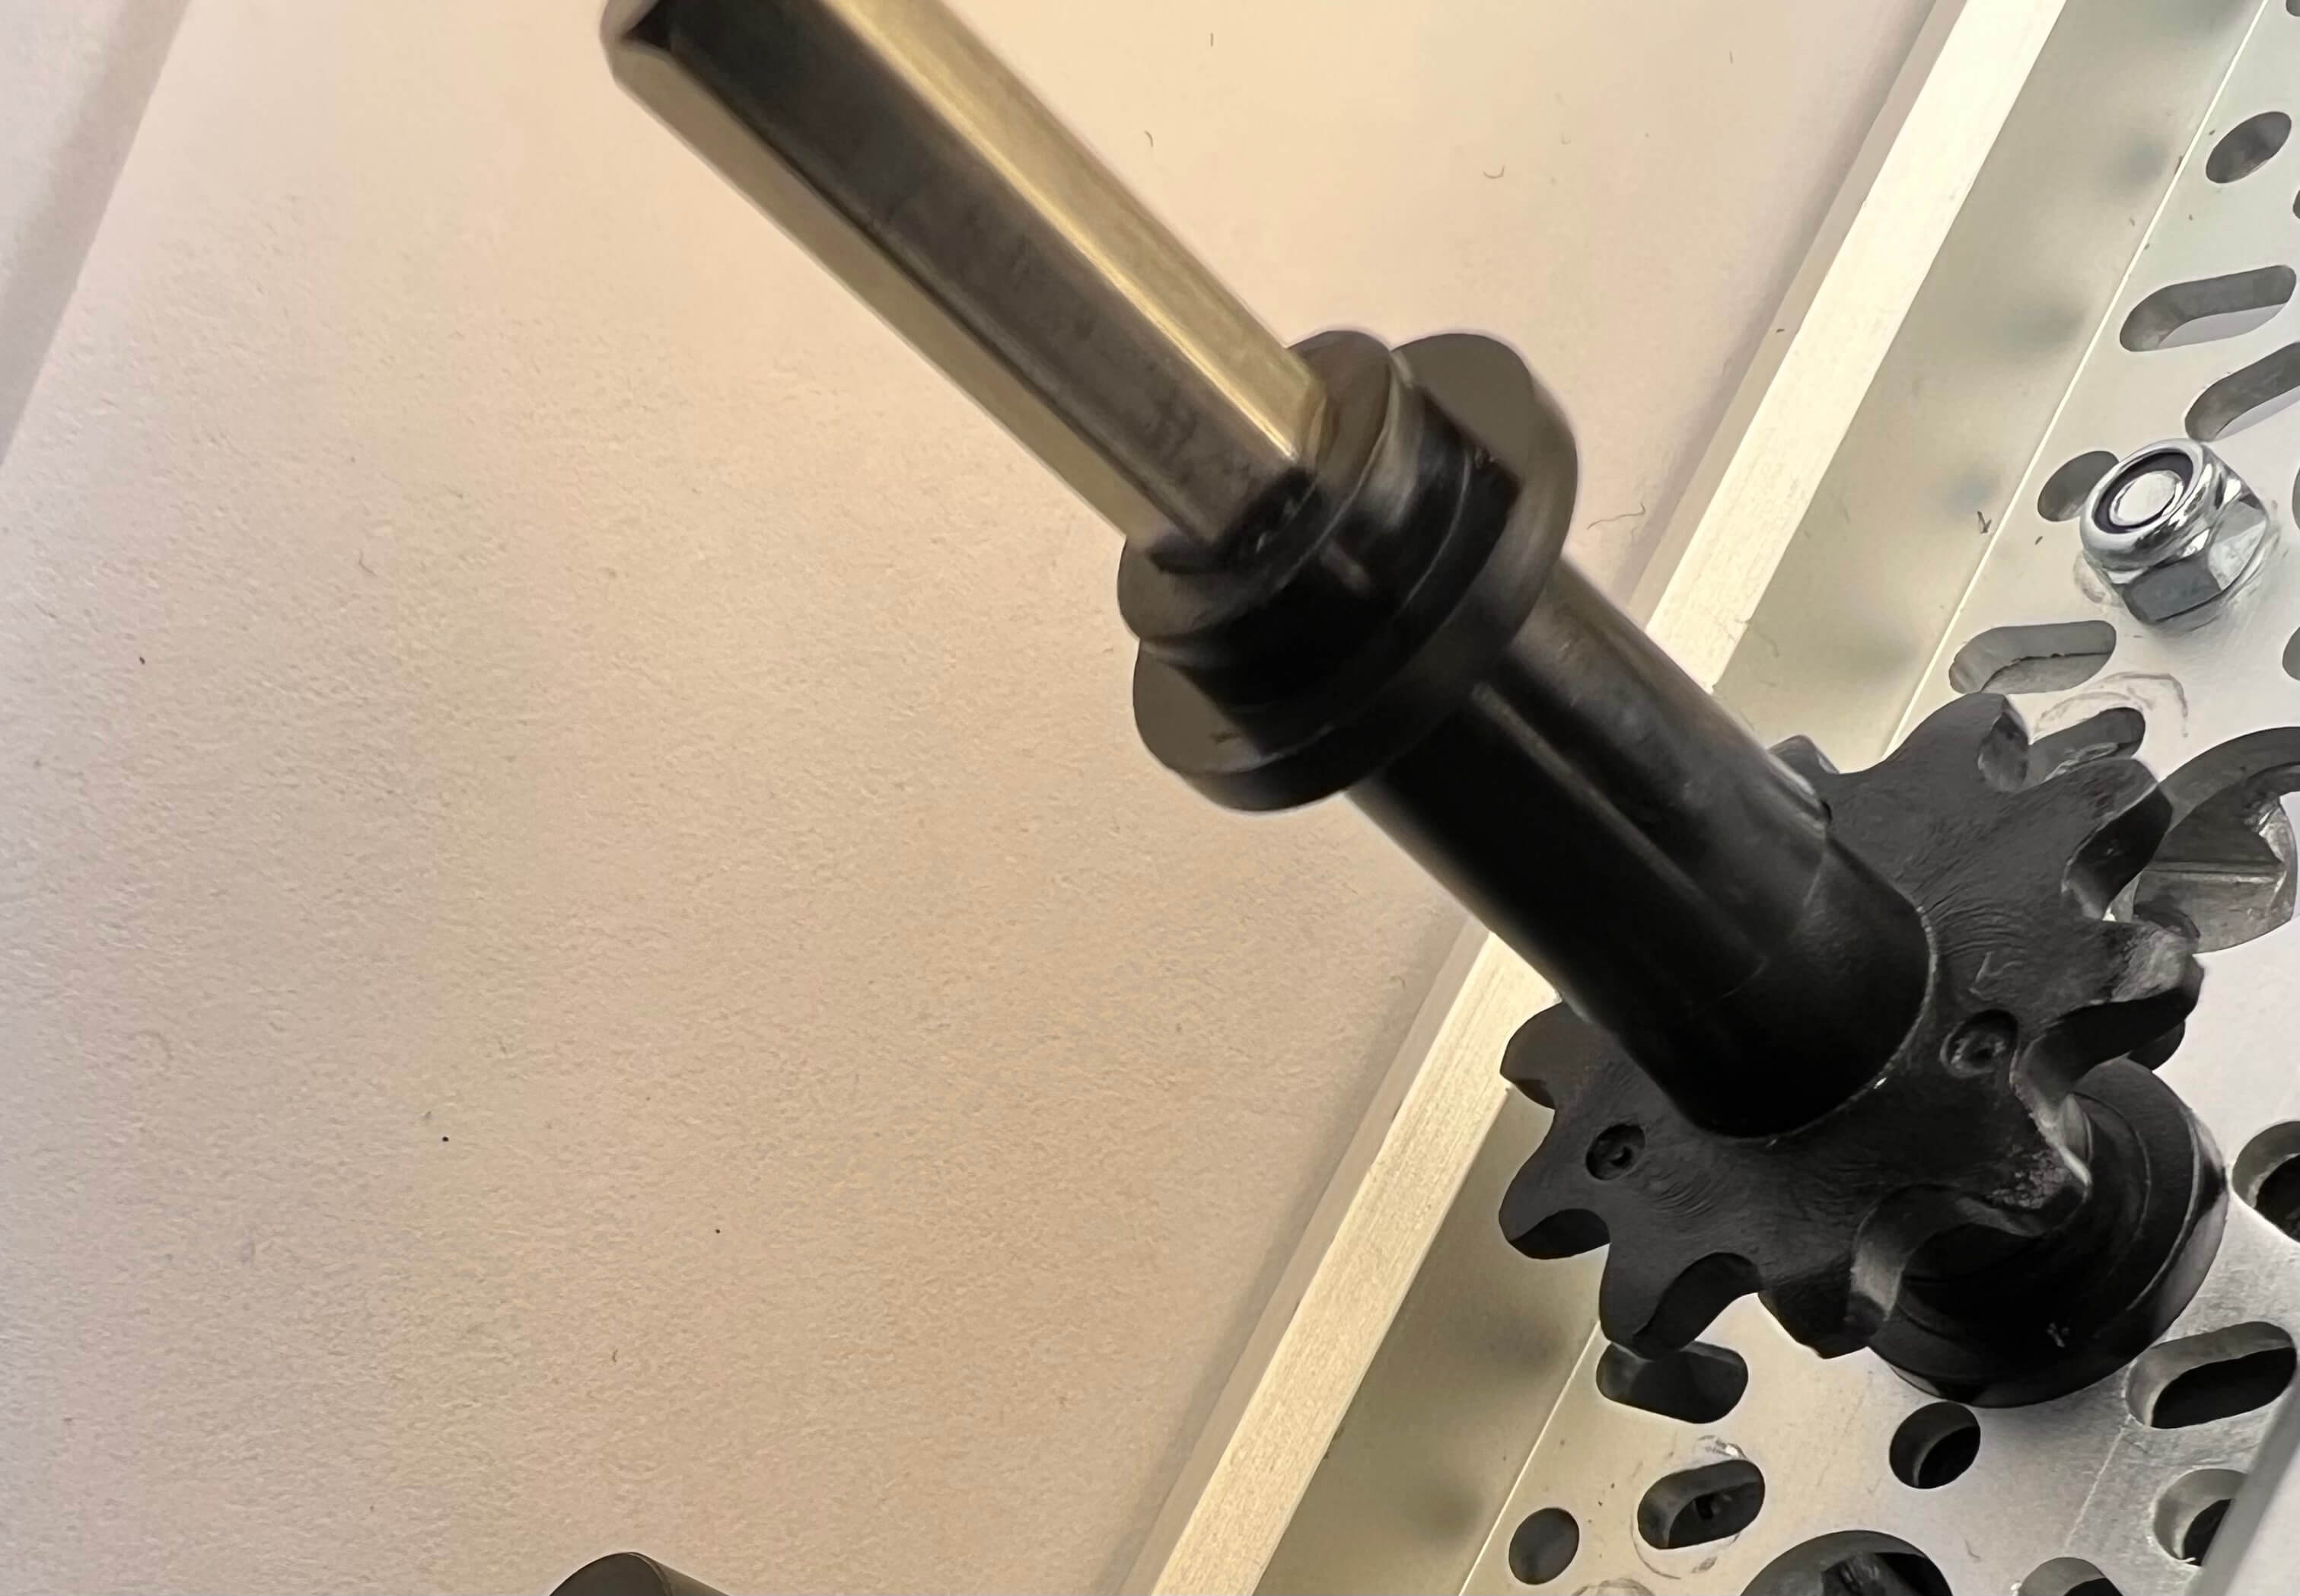
Left Base Gear
A gear on the left base.
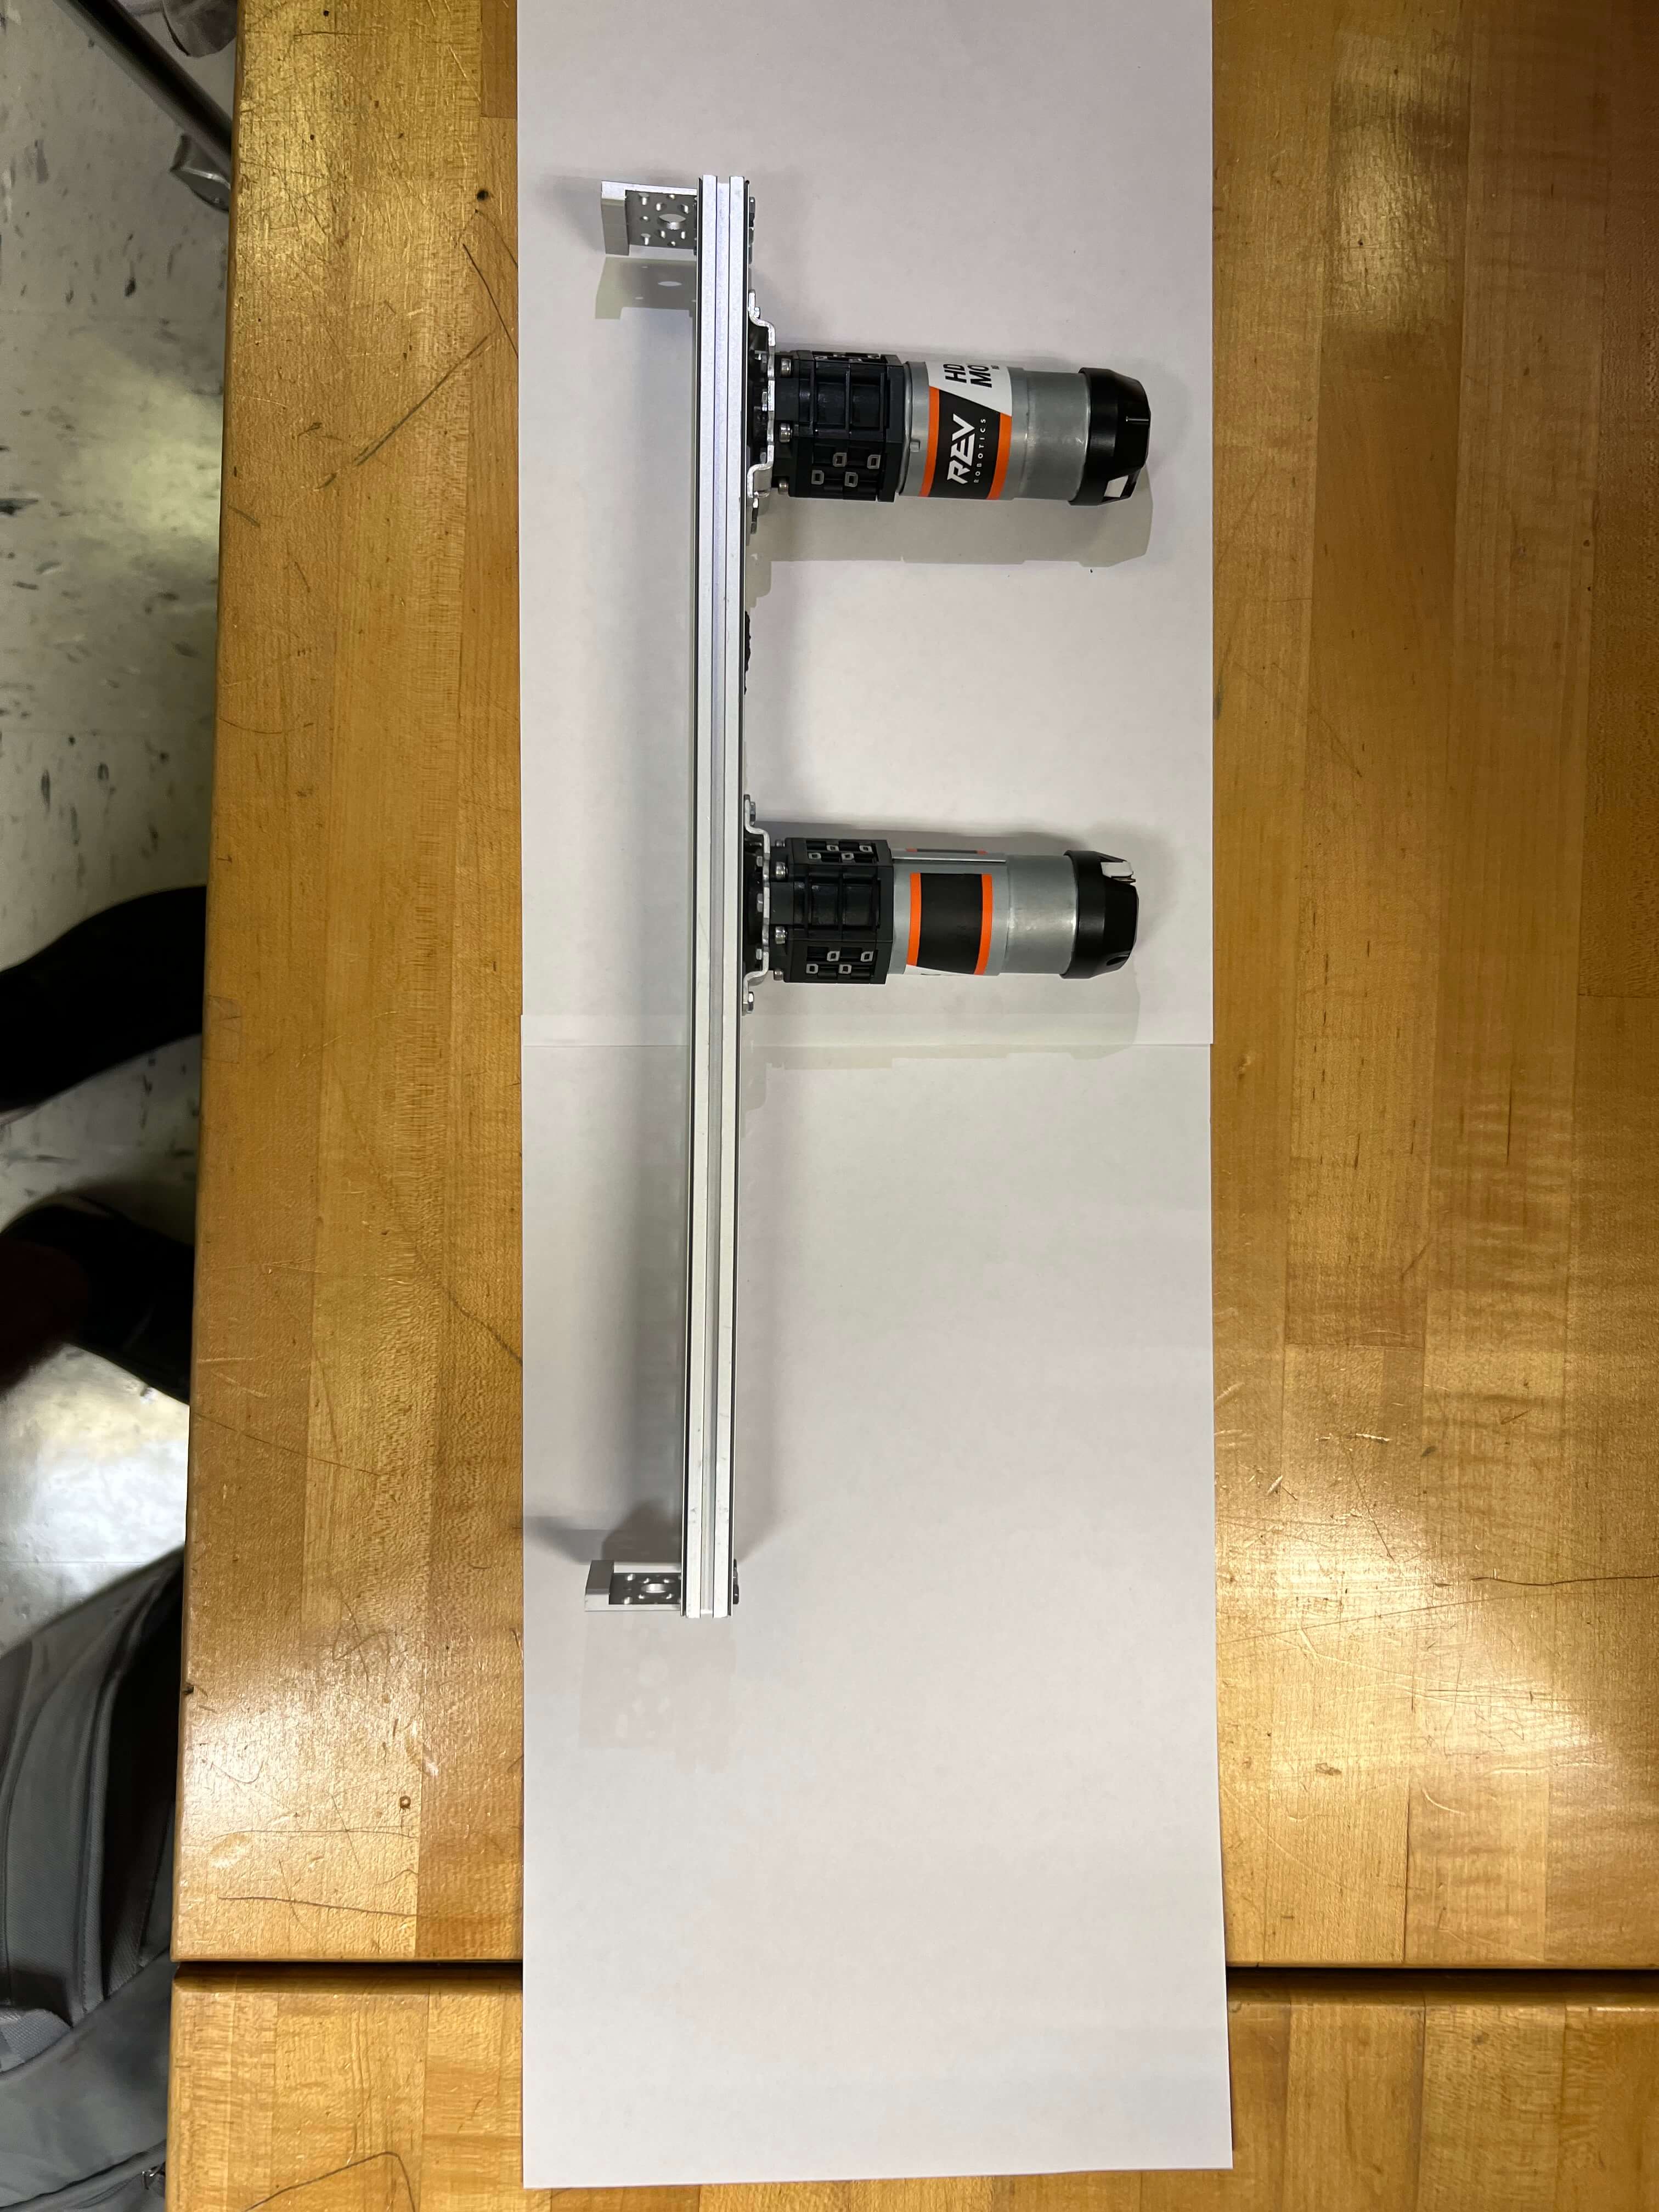
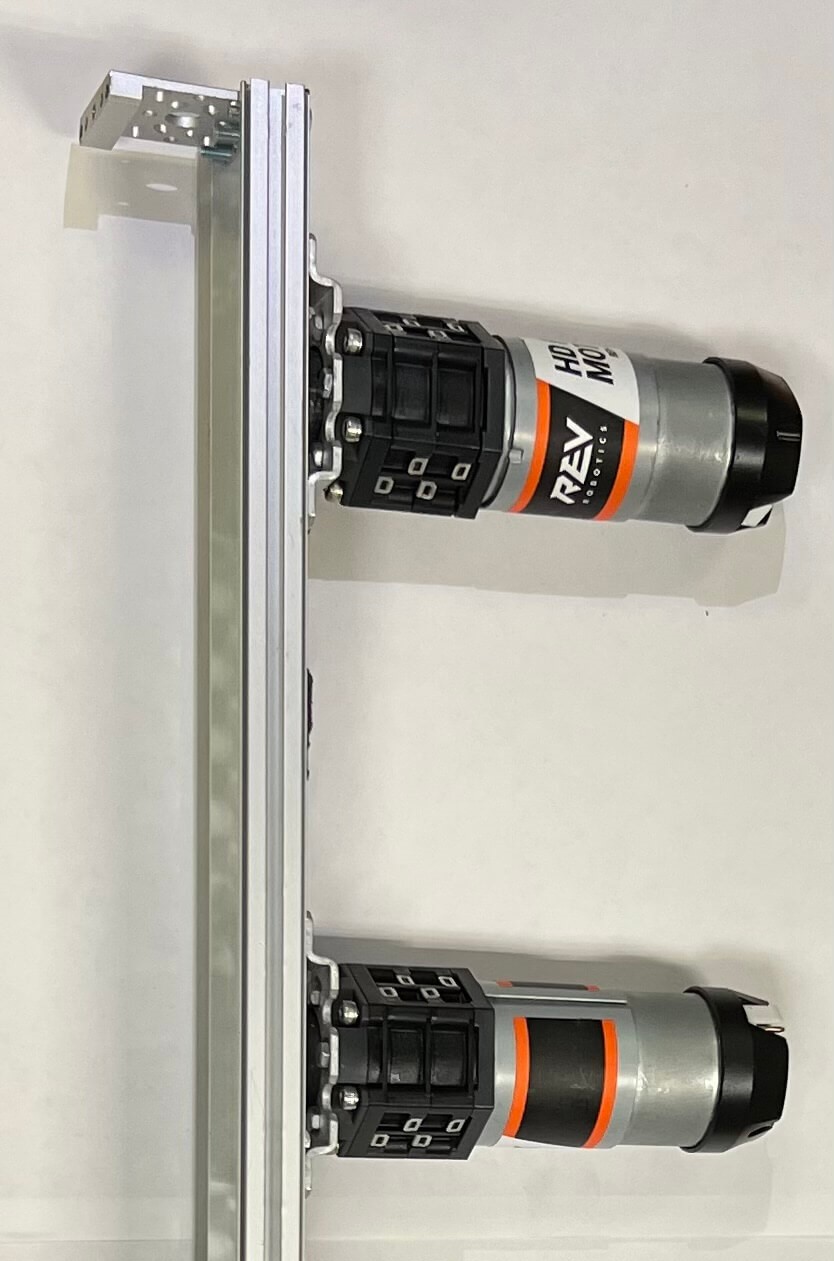
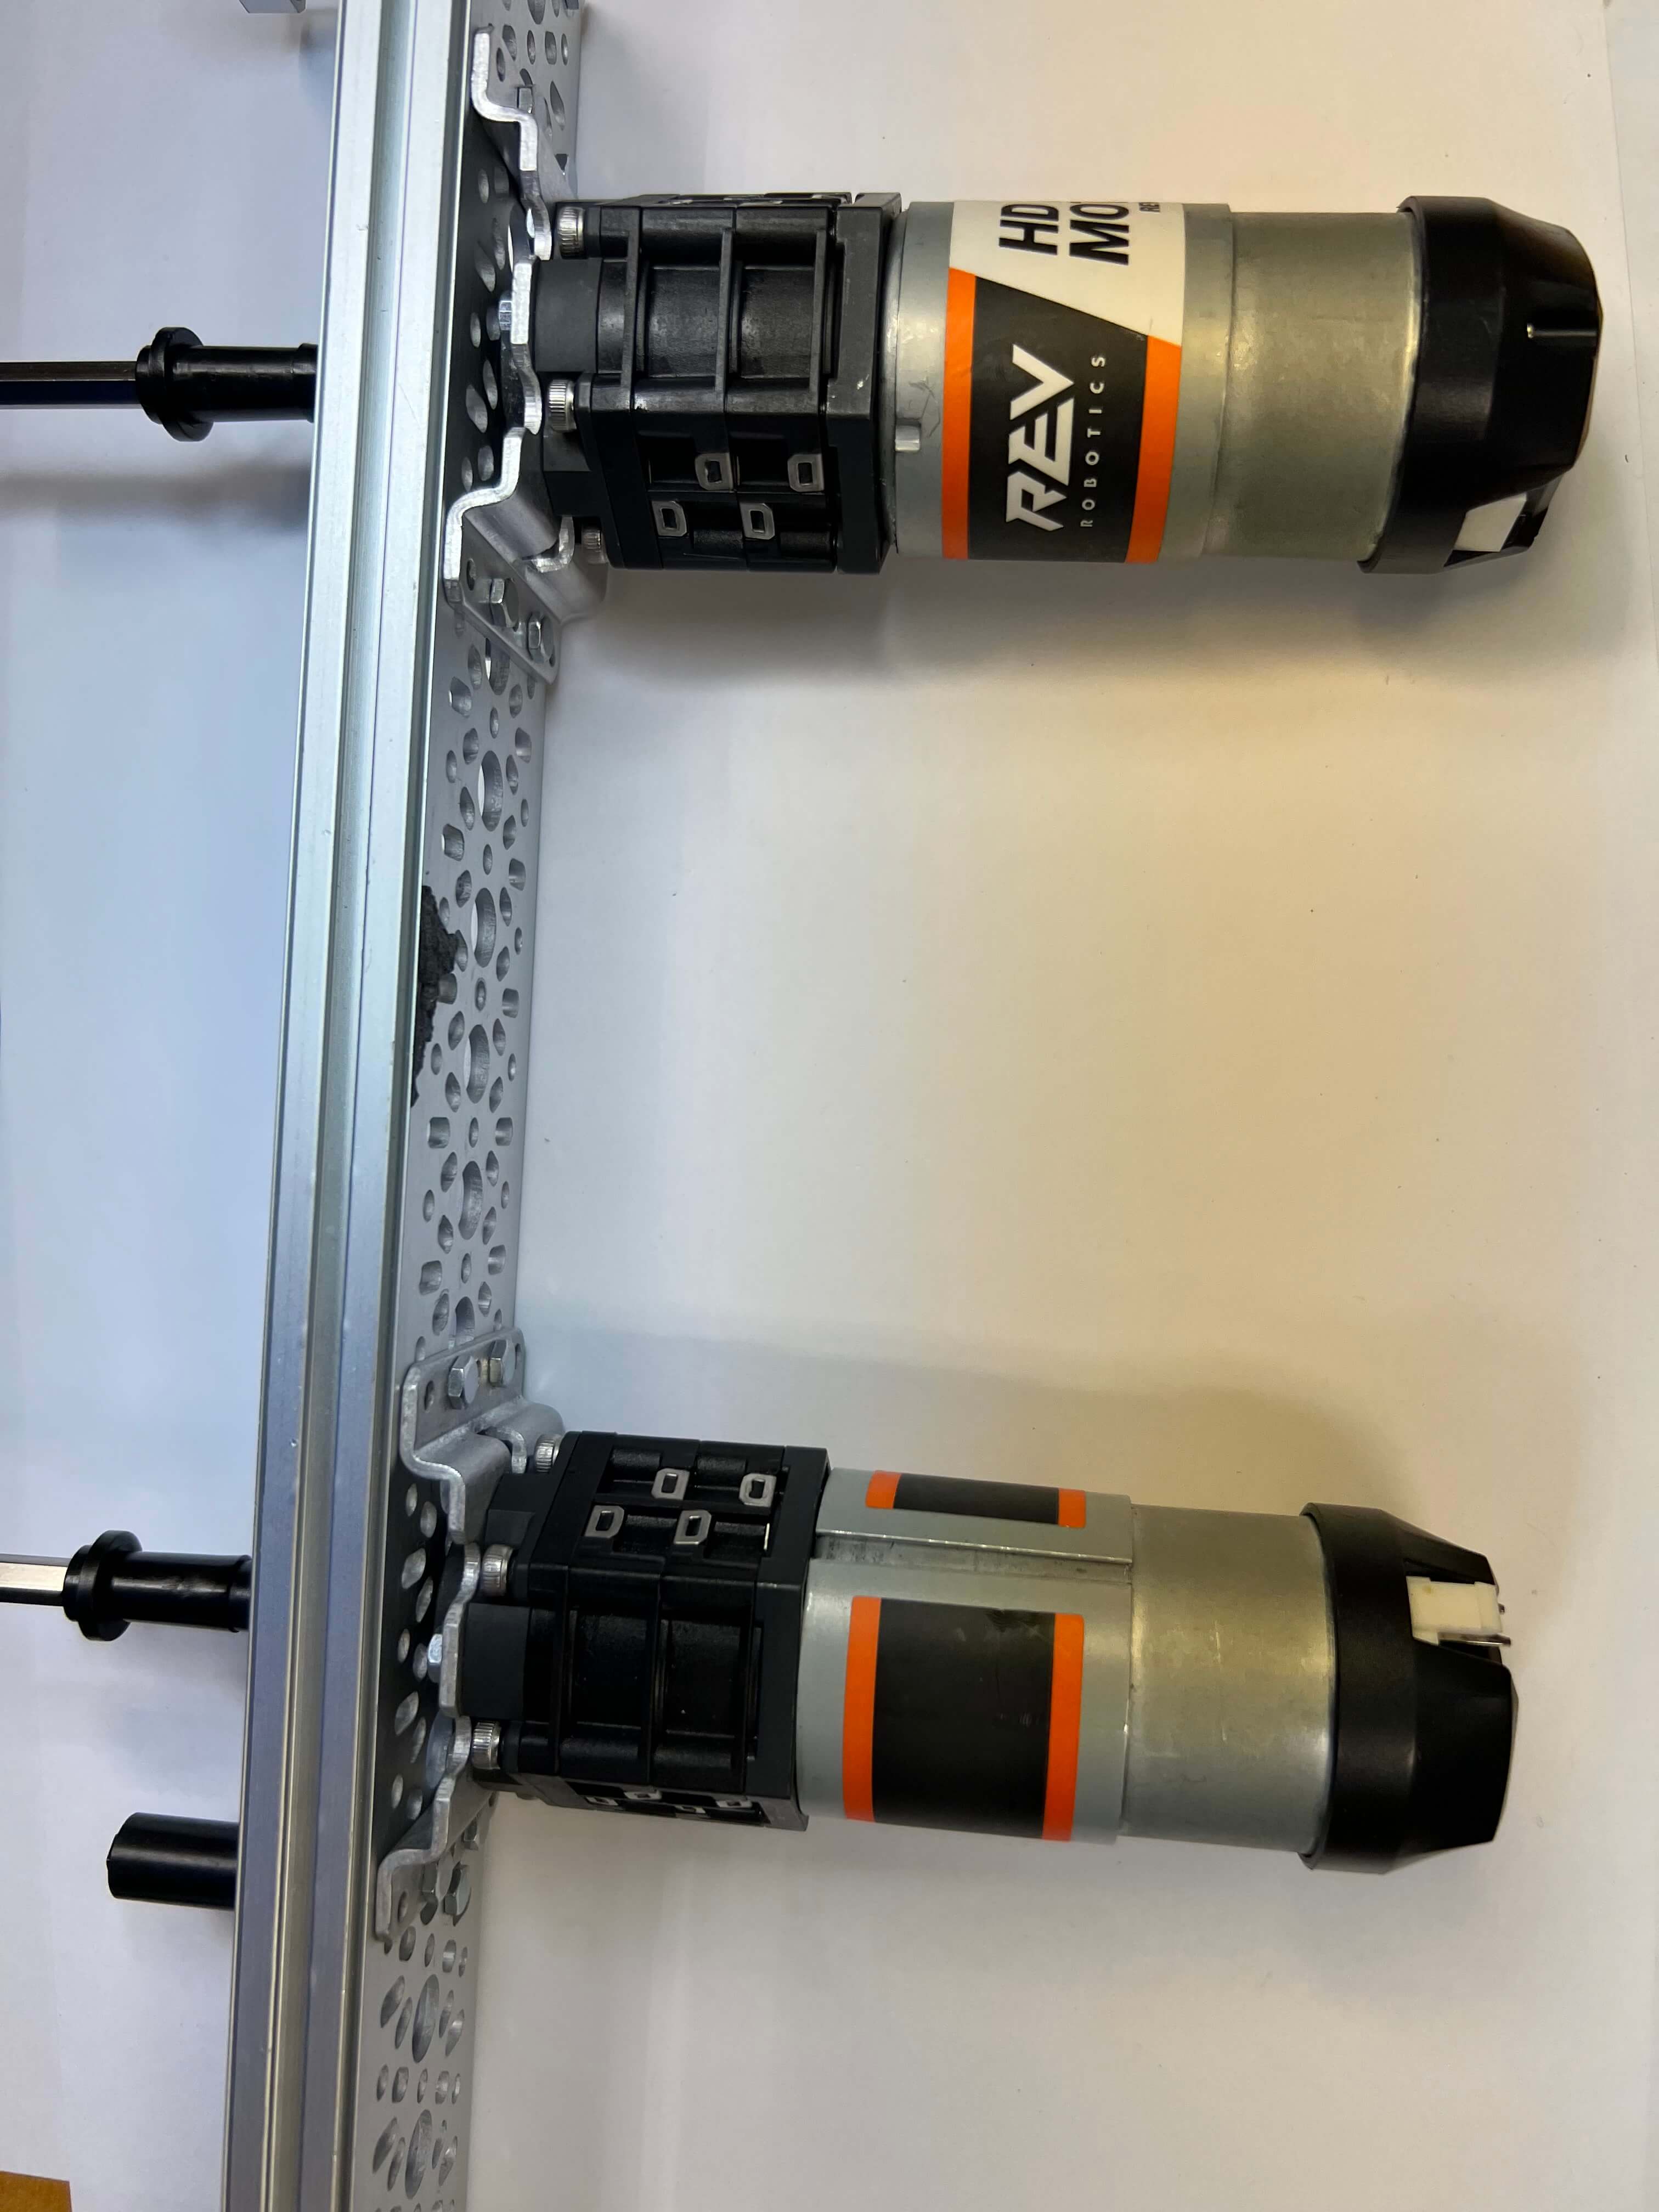
Drive Train
The drive train used for the main chassis.
Disassembly
Disassembling the robot from last year.
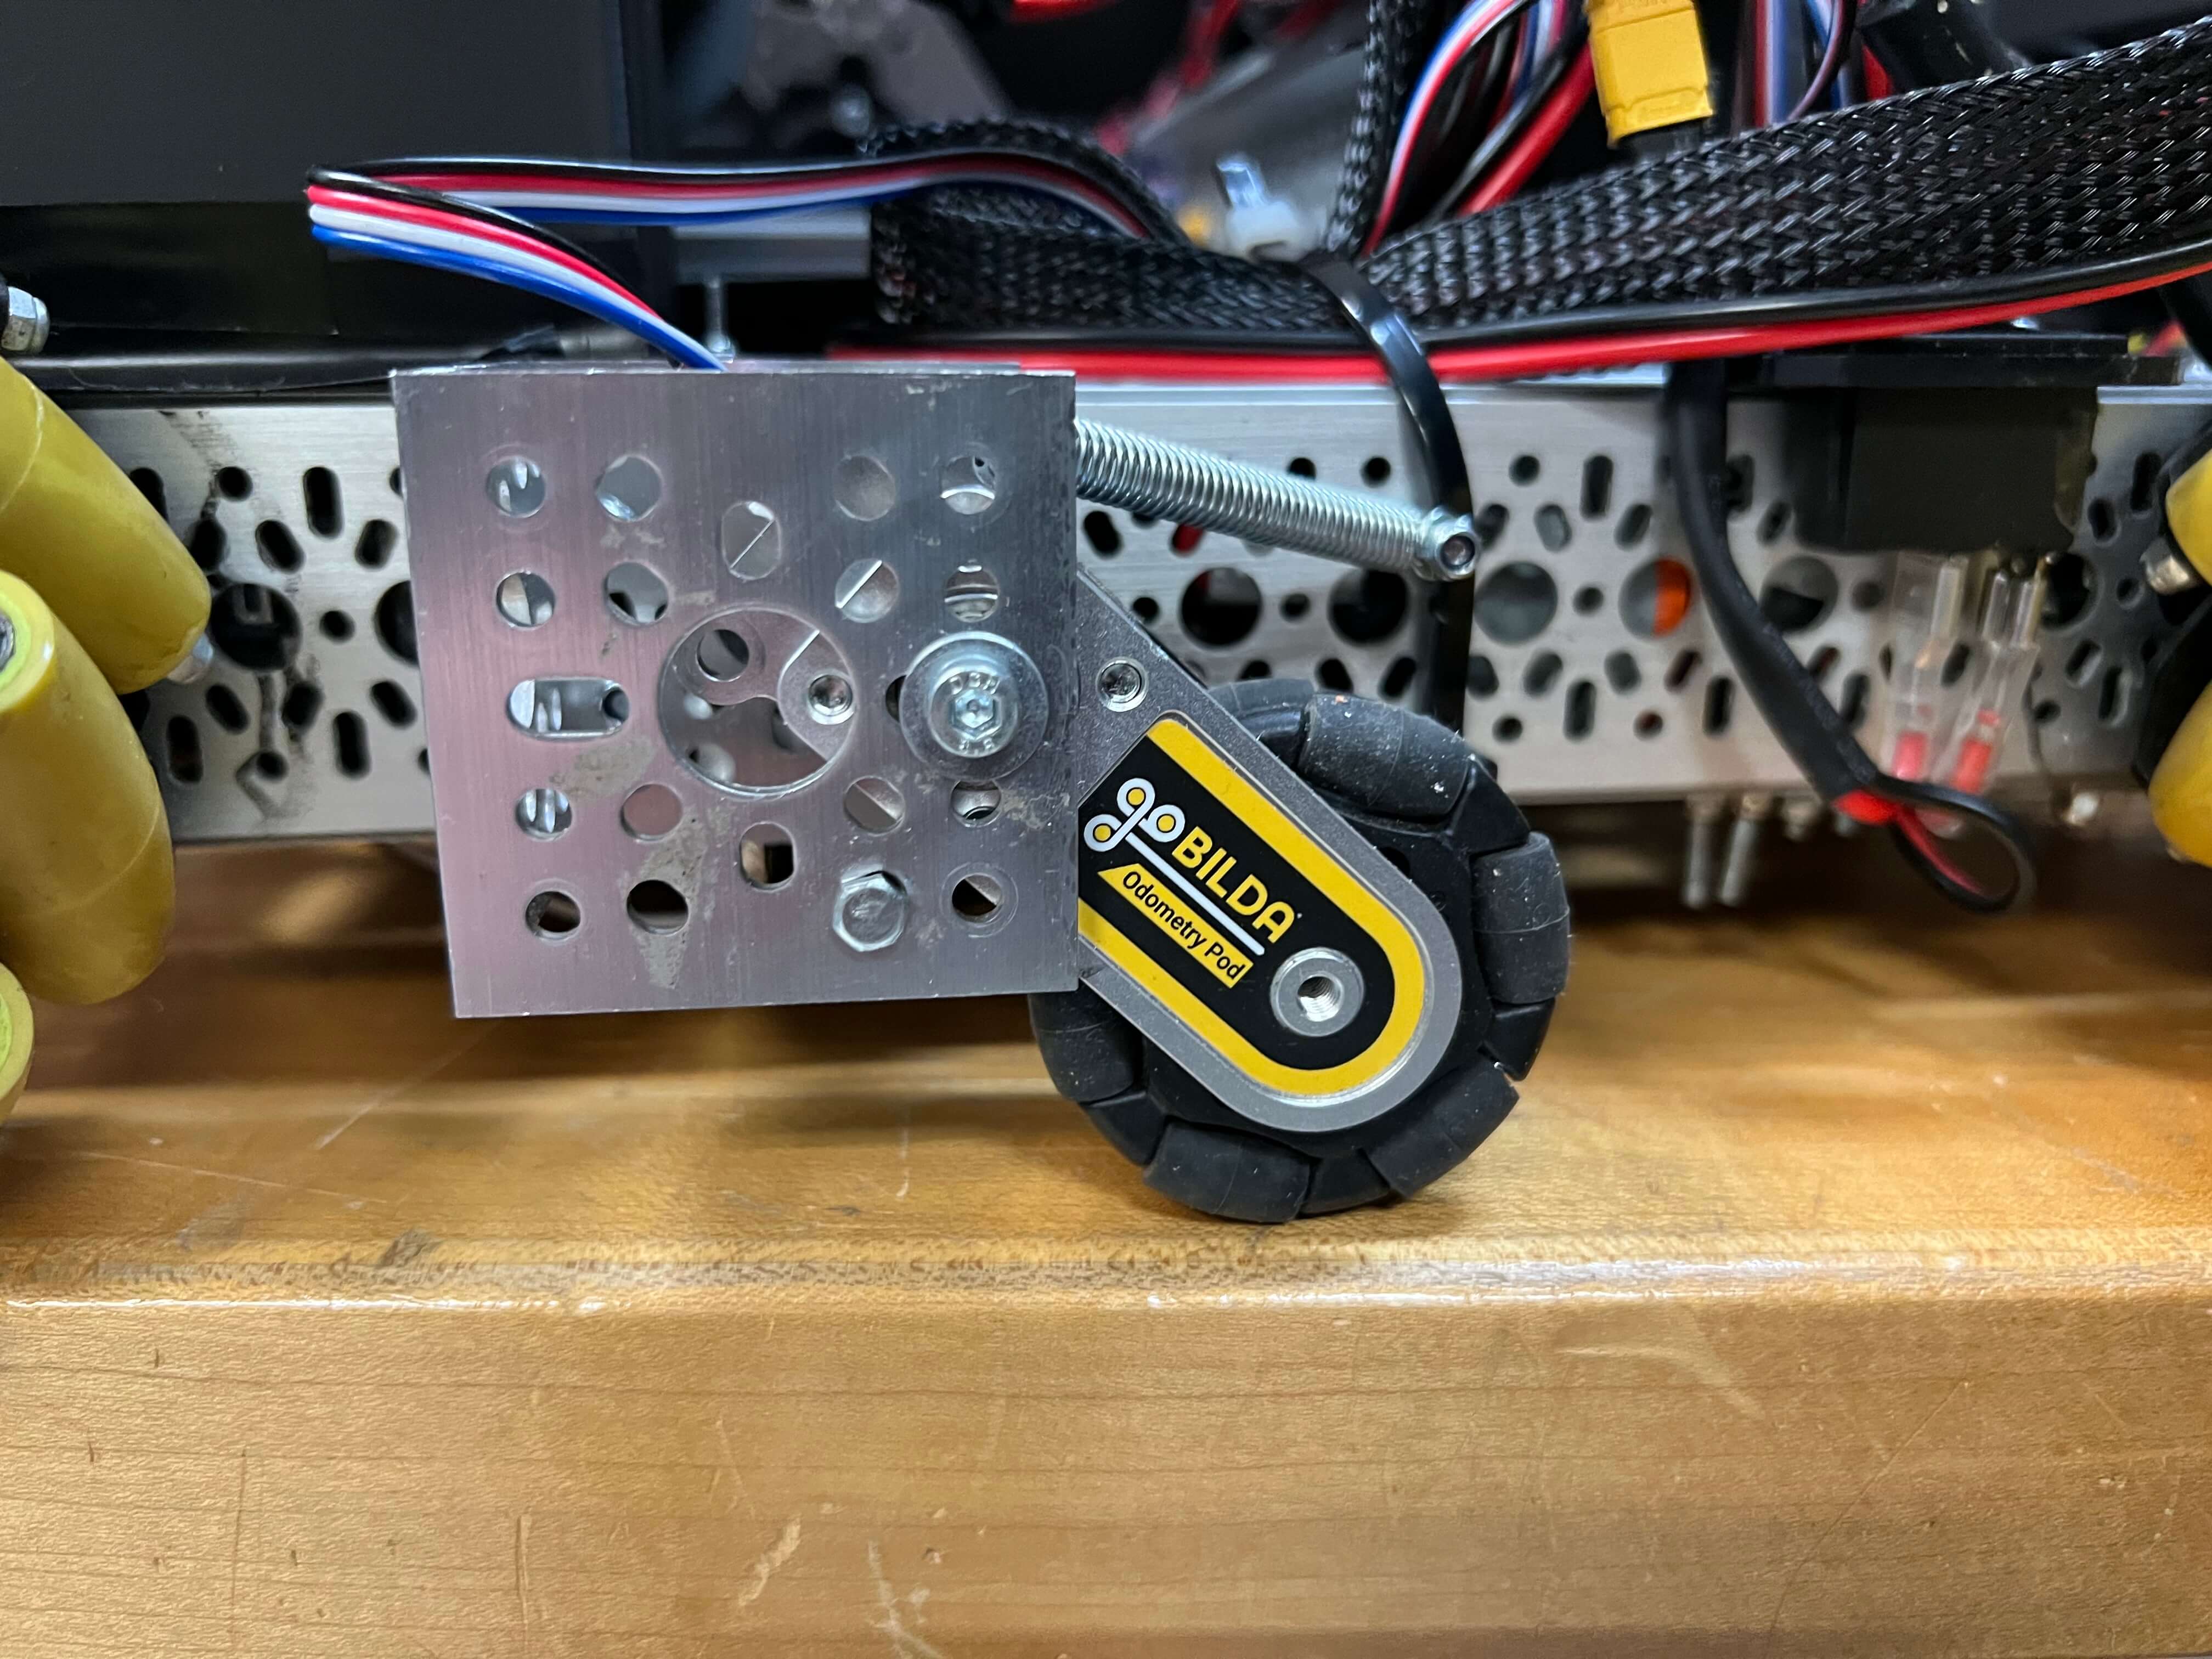
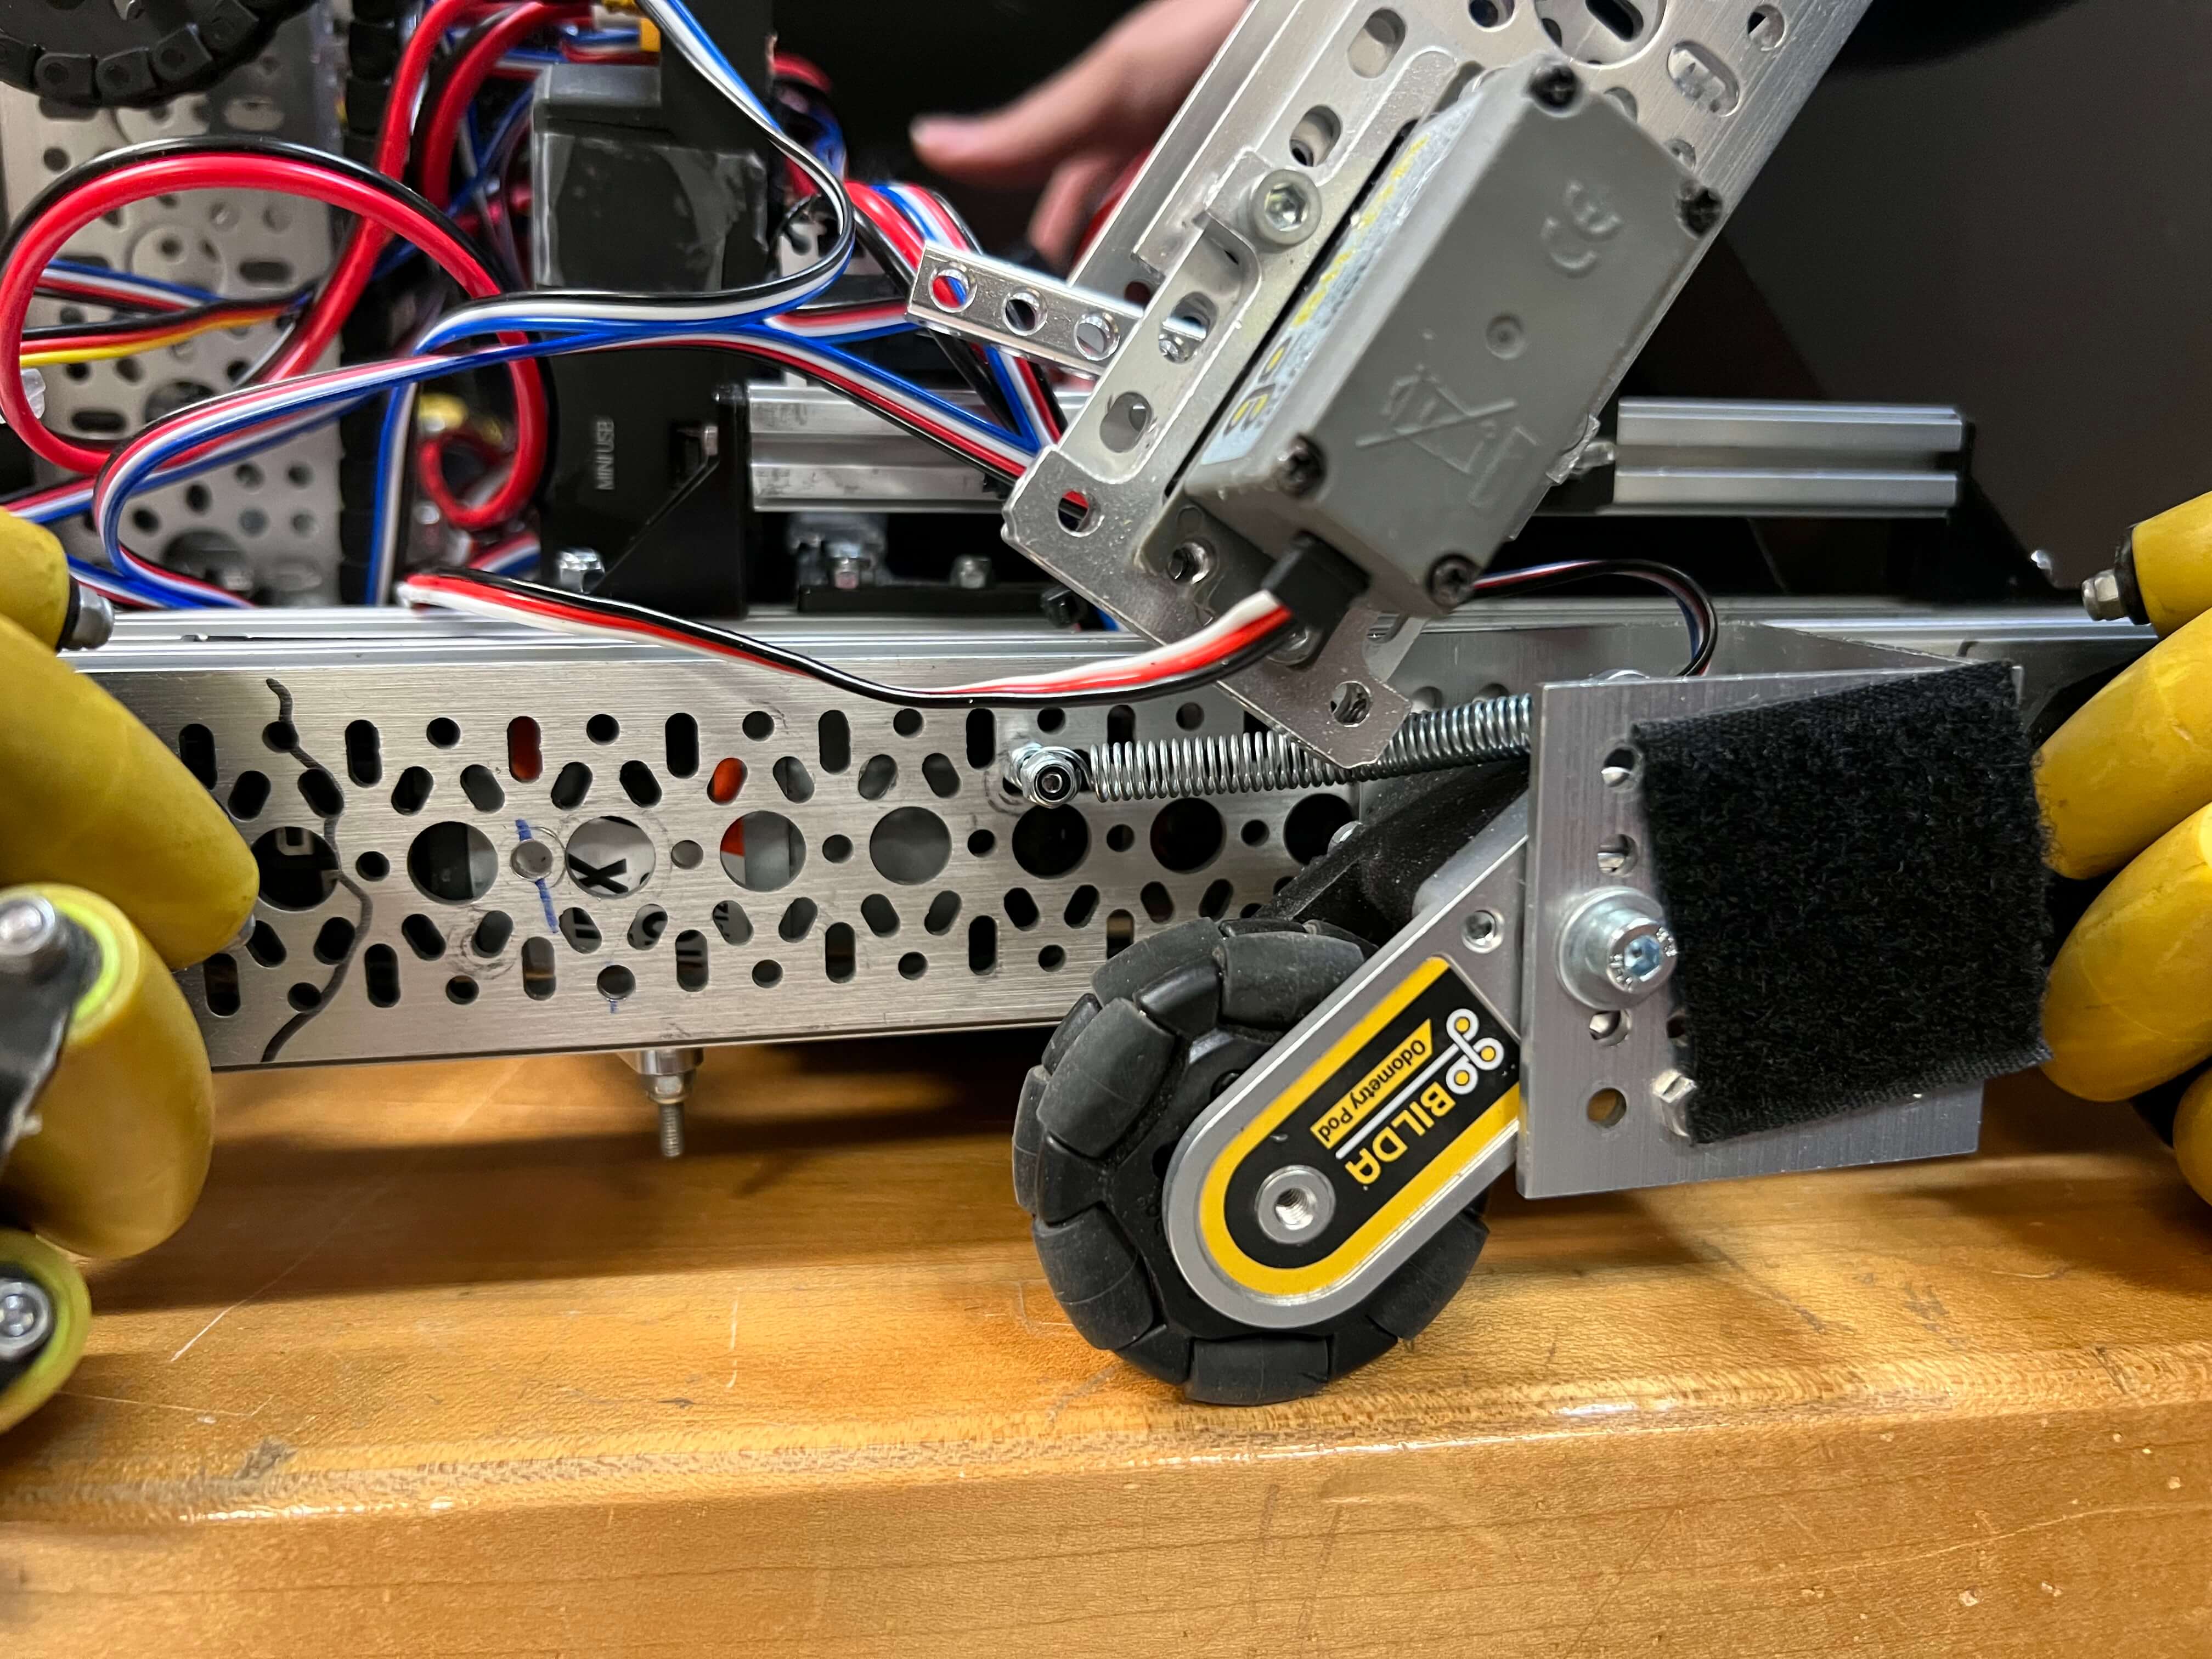
Odometry Wheel 1
Odometry wheel 2
Walls
Walls
Walls
Walls
Walls
Walls
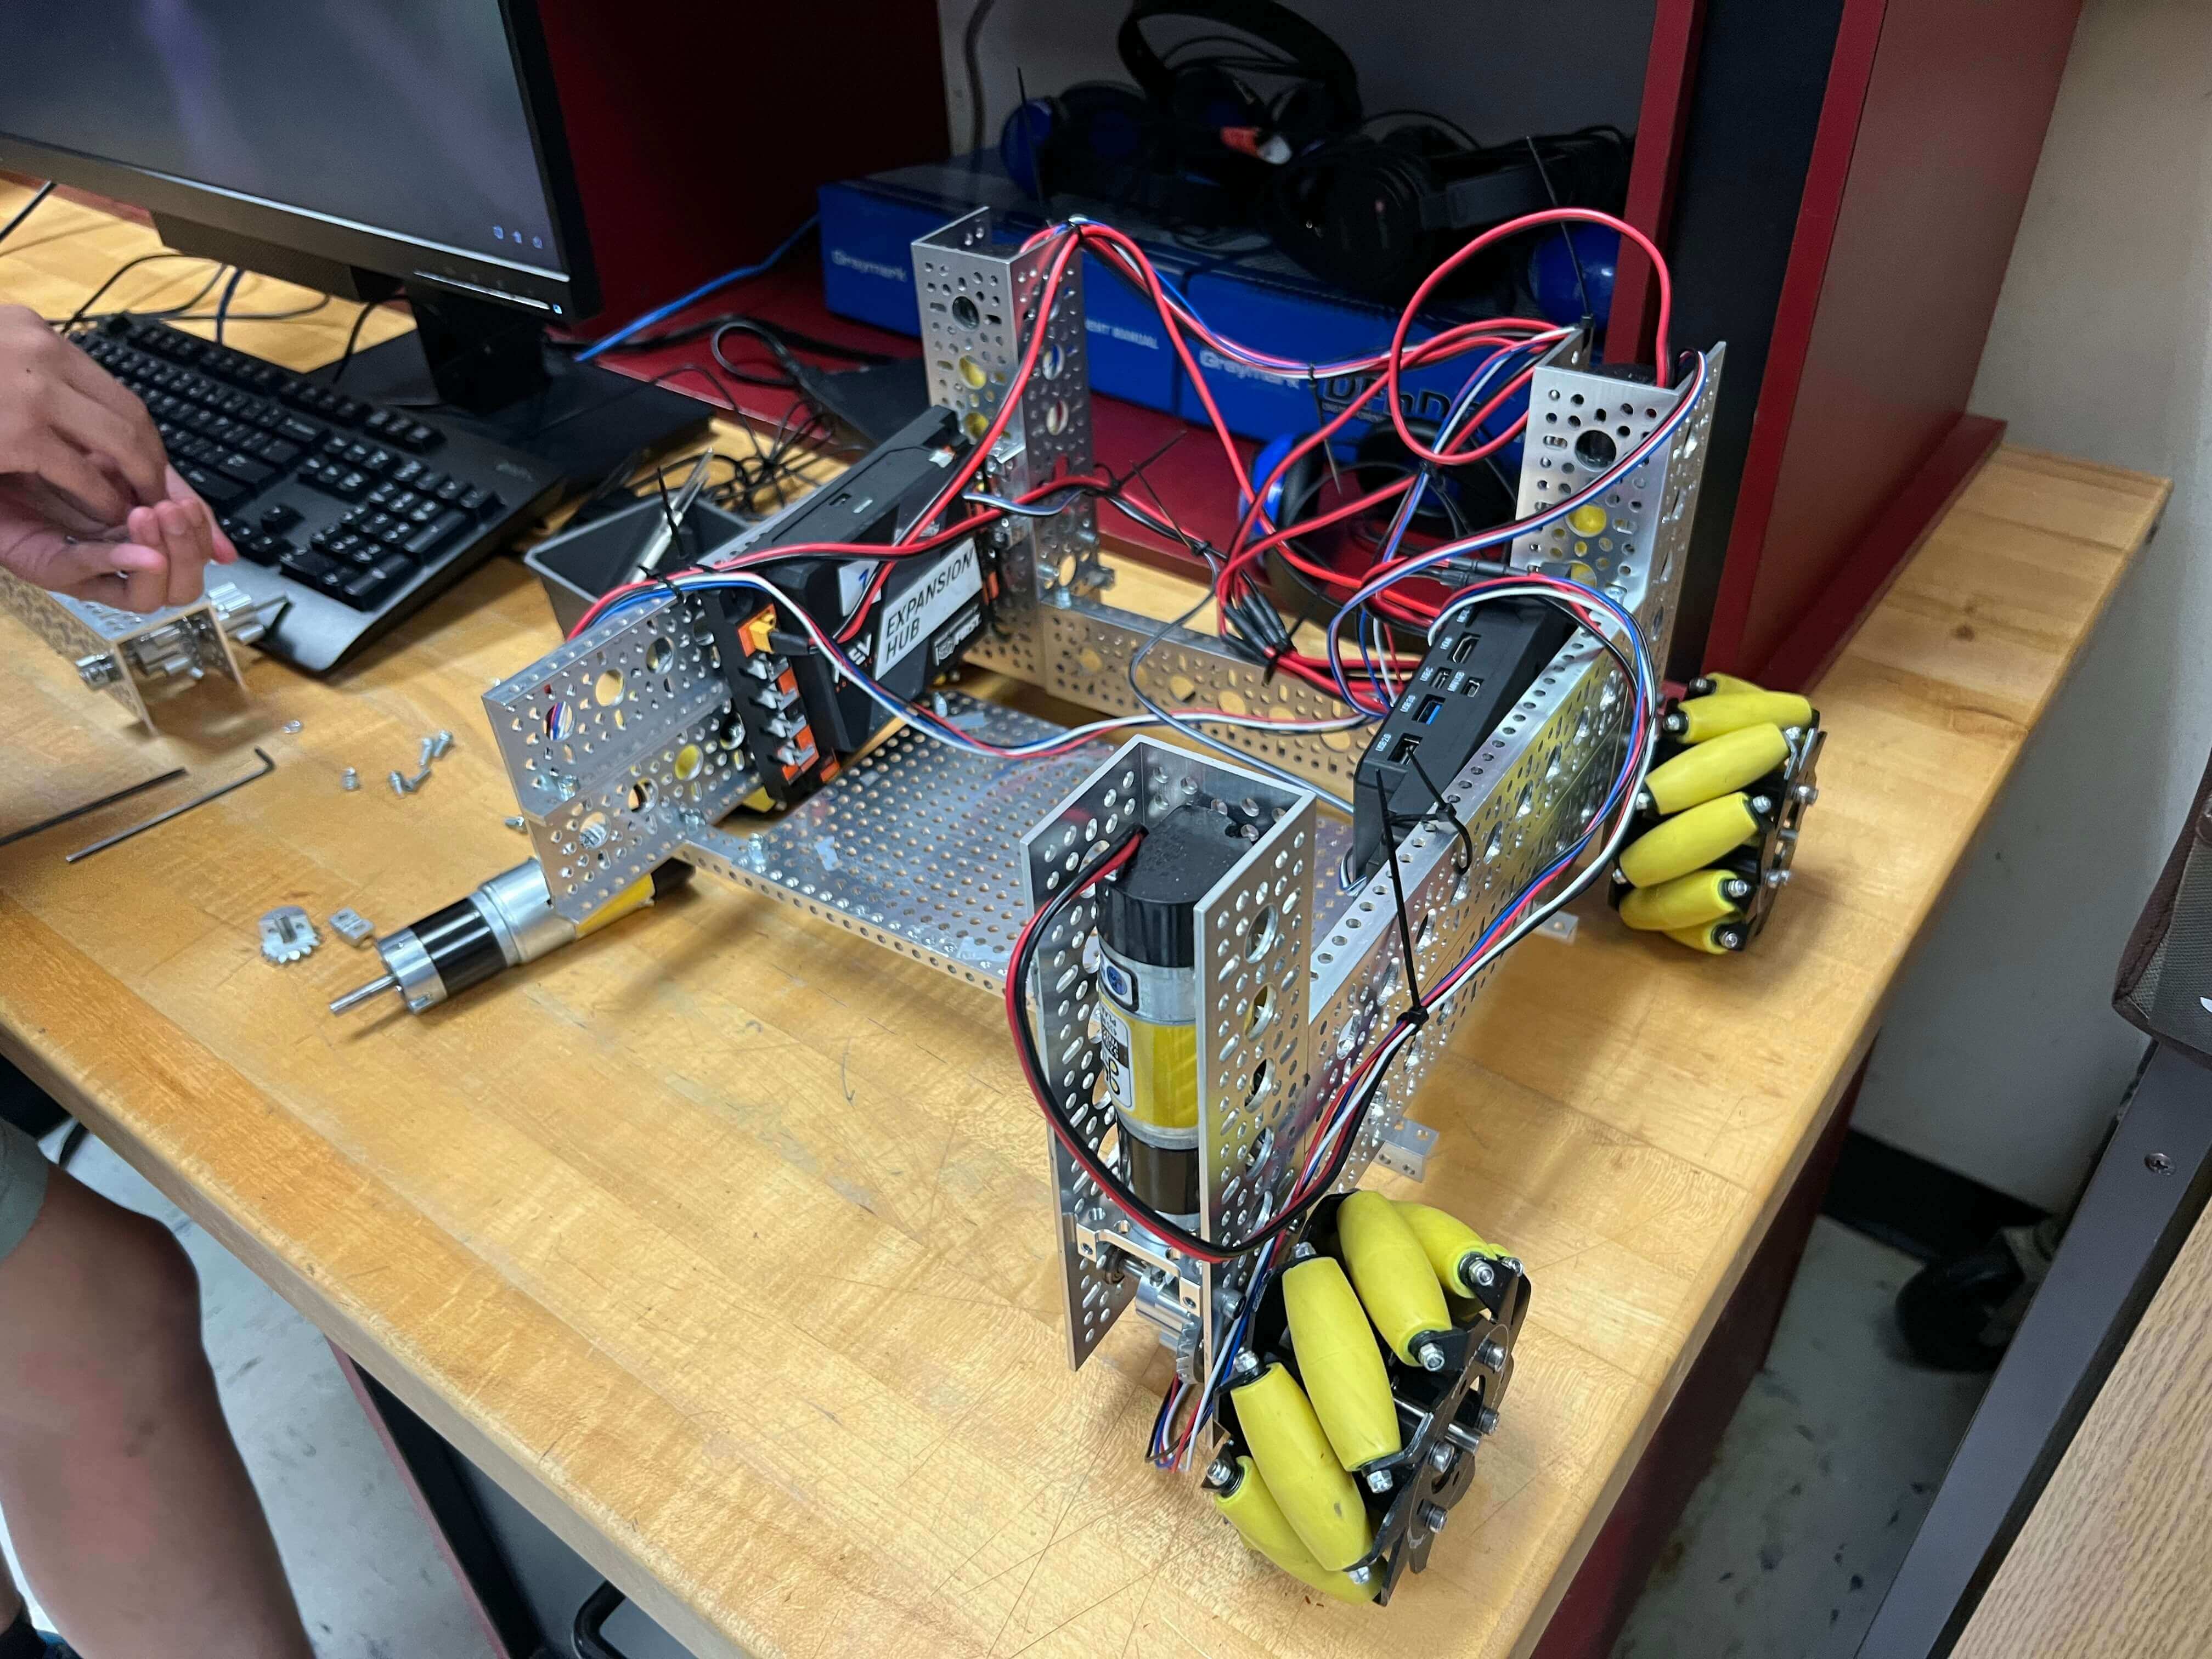
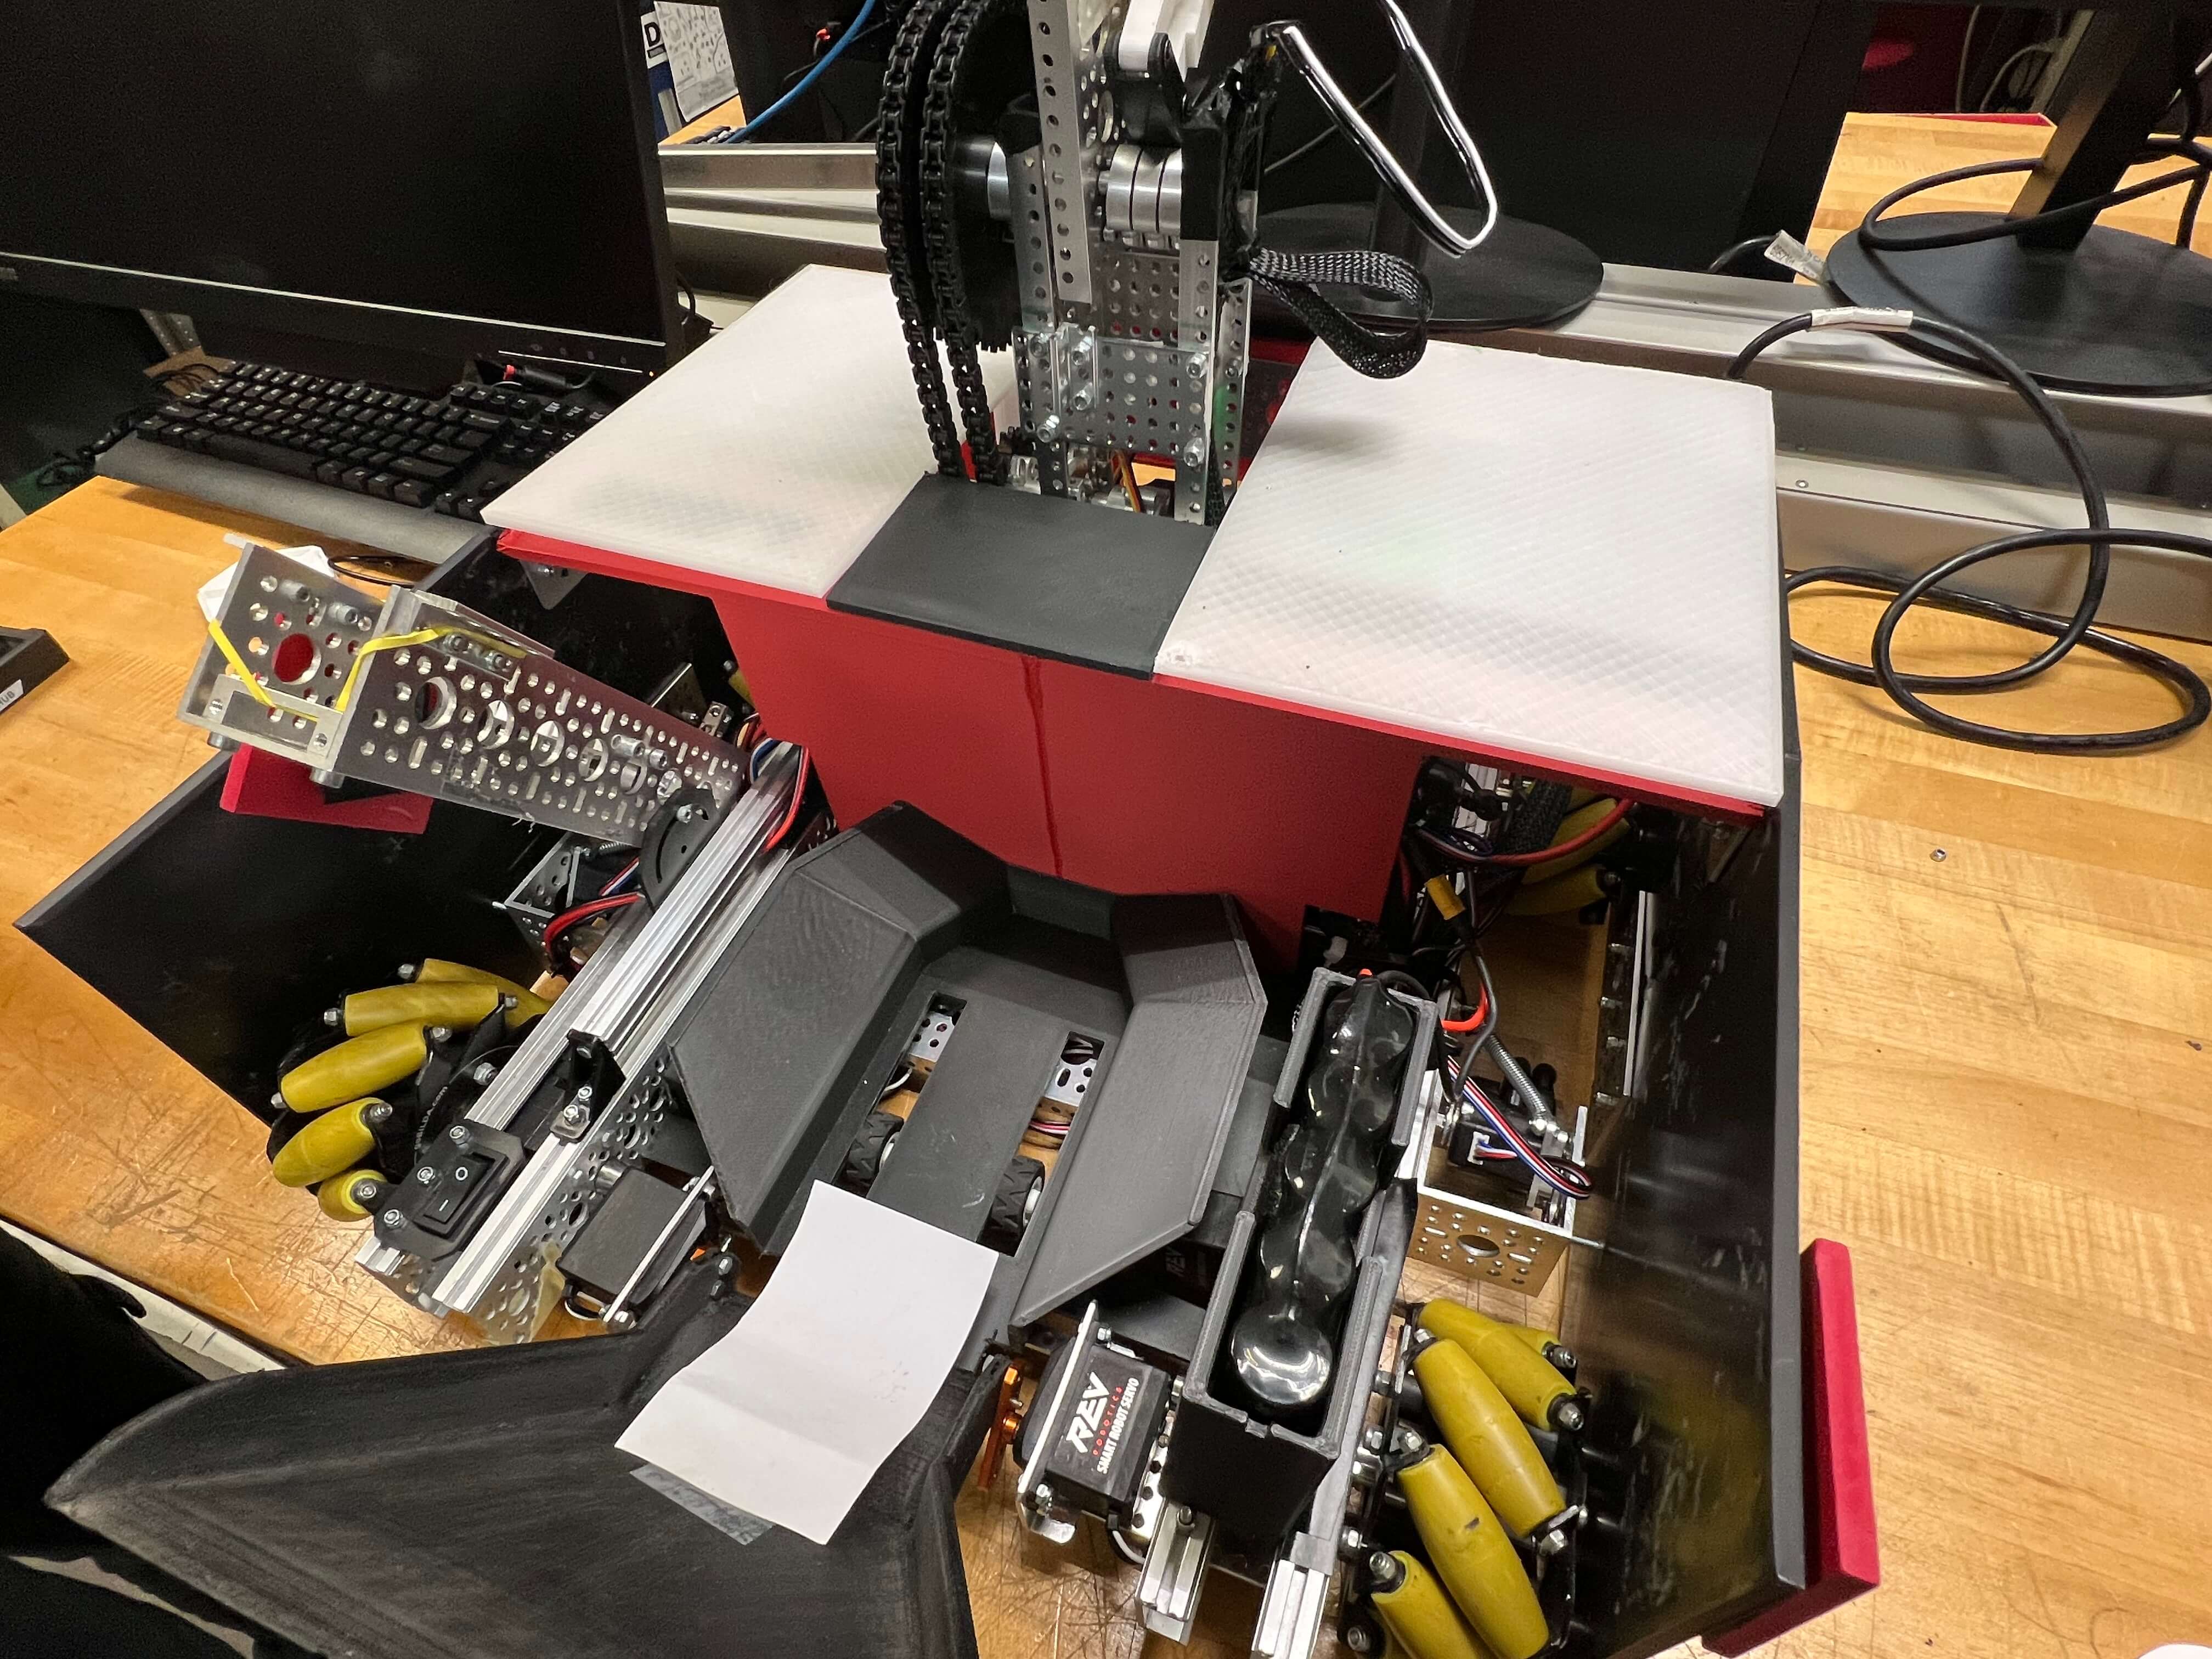
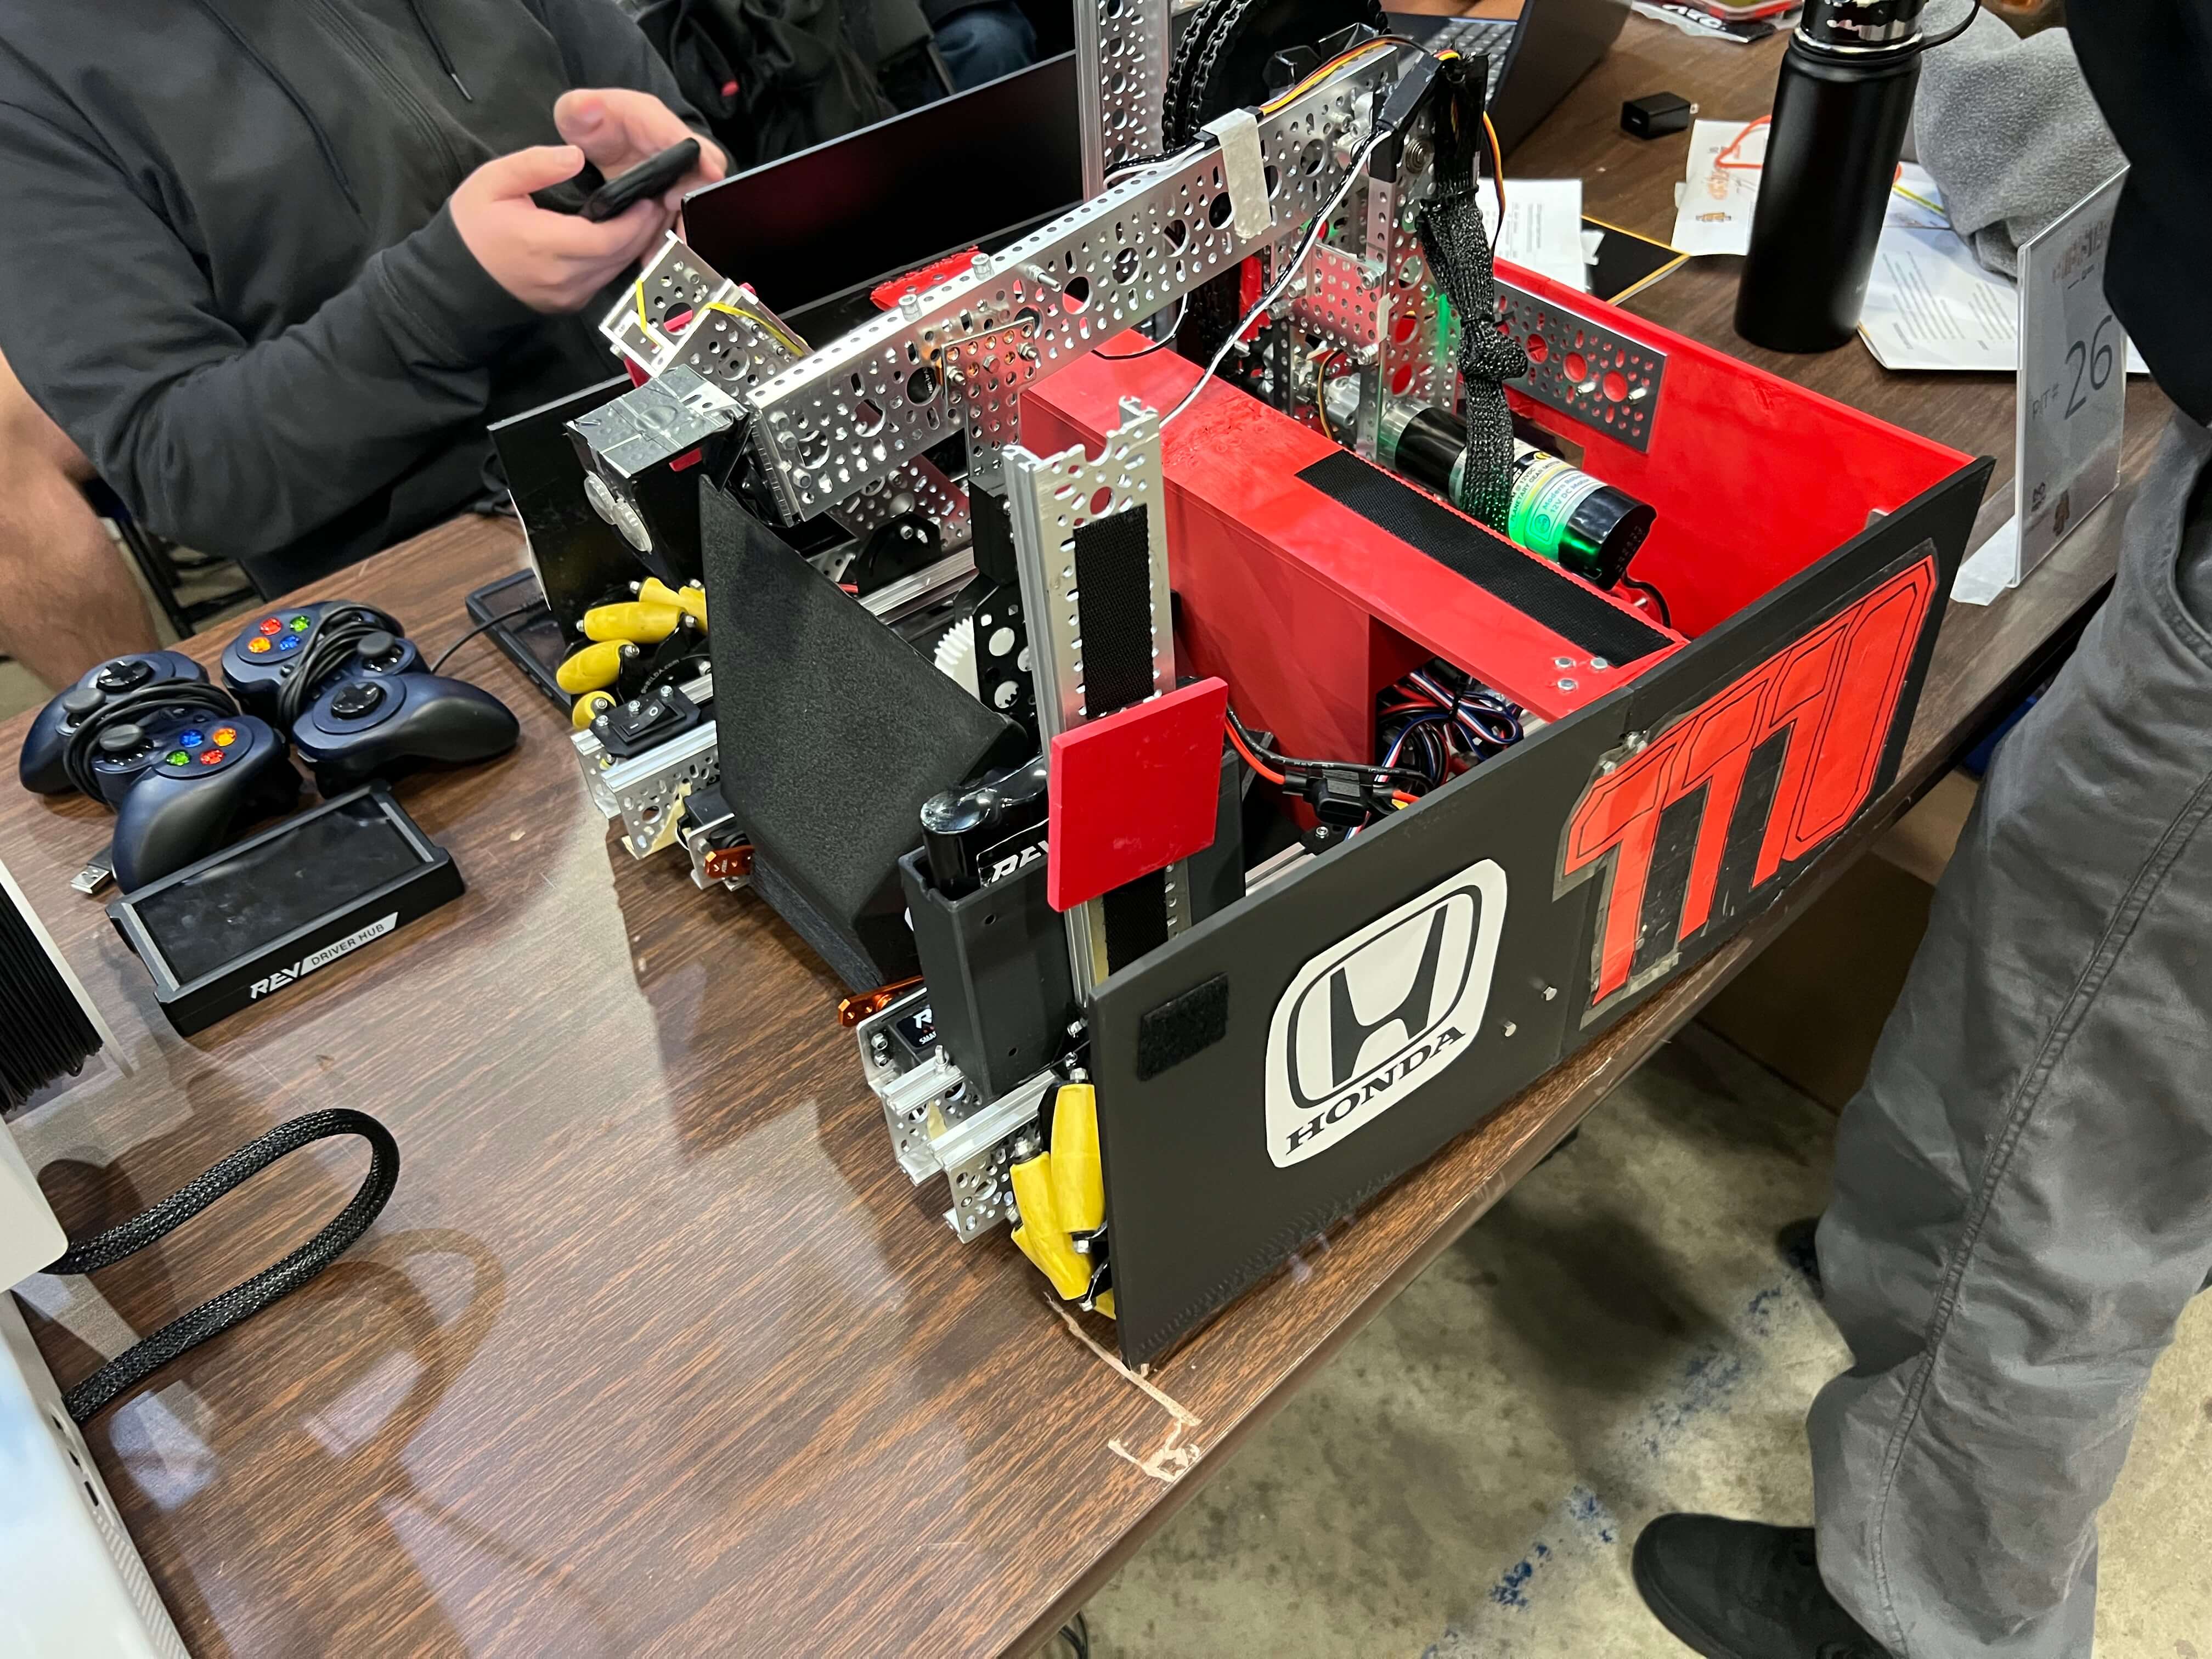
Finished Product
Fully assembled robot.
After we fixed the mecanum wheels onto the chassis, we finished our base and started experimenting with positions on where to place our arm base. Our first idea was to place the arm base in the middle, but that caused extra height increase, so we decided to place it in the from to allow for less increase in height. Our wheels broke and then we fixed the wheels by angling them differently.
Next, We placed our arm base in the middle of our base and attached a battery next to it to provide power during autonomous and manual mode. We then placed the drone launcher next to it, although we had trouble finding a place to fix it onto because of how big our arm base was. Finally, we placed our intake mechanism. Our autonomous was struggling so we added some odometry wheels to use roadrunner for our autonomous. We also added some walls on our robot to prevent pixels from getting into our main chassis and giving us penalties.